This article discusses how to go about creating a basic game loop in HTML5 / JS and to implement control over a sprite.
Introduction
A few years ago, when Microsoft released the idea of WinJS, I wrote a game in HTML5/JS (or WinJS - they are not exactly the same).
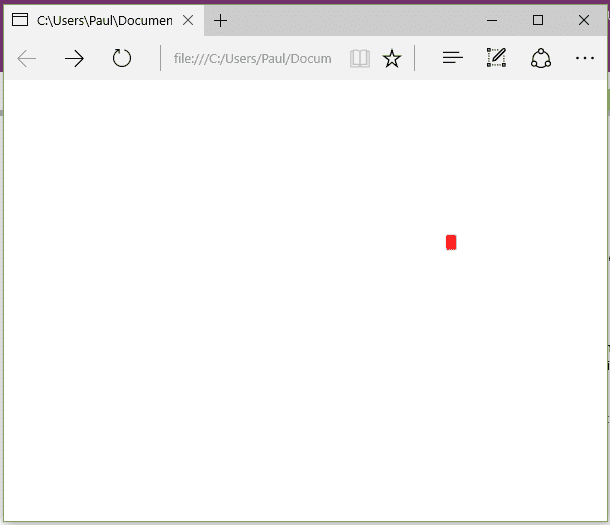
I recently decided to see if I could write a web game, using just HTML5 and Javascript. This article covers the initial POC and results in a small red square navigating around the screen:
Game Loop
Looking at established game frameworks, they all basically give you the same things: - A game loop, consisting of an update and draw phase - Some helper methods for manipulating graphics, or rendering them to the screen
My attempt will be different, I’ll just provide a game loop; here it is:
(function MainGame() {

    setInterval(function() {
        Update();
        Draw();
    }, 20);
})();
The loop executes every 20ms, meaning that there are 50 frames per second.
HTML
Basically, what the HTML gives us here is a canvas; so the page is very simple:
<head>
    <script type="text/javascript" src="./gamelogic.js" ></script>
</head>
<body onresize="onResizeGameWindow()">
    <canvas id="mainCanvas" style="width: 100%; height: 100%"
        onkeydown="onKeyDown()" tabindex="0">
    </canvas>
</body>
There are two events handled here, because there are two things that the player can do: they can interact with the game (i.e. press a key), and they can resize the browser window. We need to react to both.
Draw
Let’s have a look at the draw function next. All this is, is a way of displaying all the objects on the screen in a controlled fashion:
    function Draw() {
        var canvas = document.getElementById("mainCanvas");
        var ctx = canvas.getContext("2d");
        ctx.clearRect(0, 0, windowWidth, windowHeight);

        ctx.fillStyle = "#FF0000";
        ctx.fillRect(x, y, iconWidth, iconHeight);
    }
As you can see, there are effectively two parts to this function: firstly, the canvas is cleared, and then the items (in this case, a single item) are drawn to the screen. The important variables here are x and y, because that dictates where the square is drawn; the rest could be hard-coded values.
Update
    function Update() {
        if (initialised == 0) {
            initialise();
        }

        // Bounce
        if (x >= (windowWidth - iconWidth)
            && directionX > 0)
            directionX = -1;
        else if (x <= 0 && directionX < 0)
            directionX = 1;

        if (y >= (windowHeight - iconHeight)
            && directionY > 0)
            directionY = -1;
        else if (y <= 0 && directionY < 0)
            directionY = 1;

        // Move
        x += directionX * speed;
        y += directionY * speed;
    }
There are three parts to the Update. The first is to perform any initialisation: in my case, I focus on the canvas and call the resize event here. This potentially could be done on an event, but you would still have to check inside this loop if it had been done. The second is to stop the player leaving the screen; and finally, we adjust the player position.
Events
As you saw earlier, there are two events that are handled; the first is the user resizing the screen:
function onResizeGameWindow() {
    var canvas = document.getElementById("mainCanvas");

    windowWidth = canvas.width;
    windowHeight = canvas.height;
}
This basically ensures that the game adjusts to the browser dimensions. This might also be where you would determine if the window was made so small that the game could no longer be played.
The second event was the keydown event. This effectively provides the control for the player:
function onKeyDown(e) {
    if (!e) e = window.event;

    if (e.keyCode == 39) {
        directionX++;
    }
    else if (e.keyCode == 37) {
        directionX--;
    }

    if (e.keyCode == 38) {
        directionY--;
    }
    else if (e.keyCode == 40) {
        directionY++;
    }
}
The top line is because the parameter comes through as null.
Conclusion
If you run this game, you’ll see that you can move the square around the screen, increase and decrease its speed, and stop. Not exactly the next Call Of Duty, I’ll grant you, but the foundation of a game, certainly.
