The purpose of this post is to take the code that we created here and run it in the simulator.
Leaving the Playground
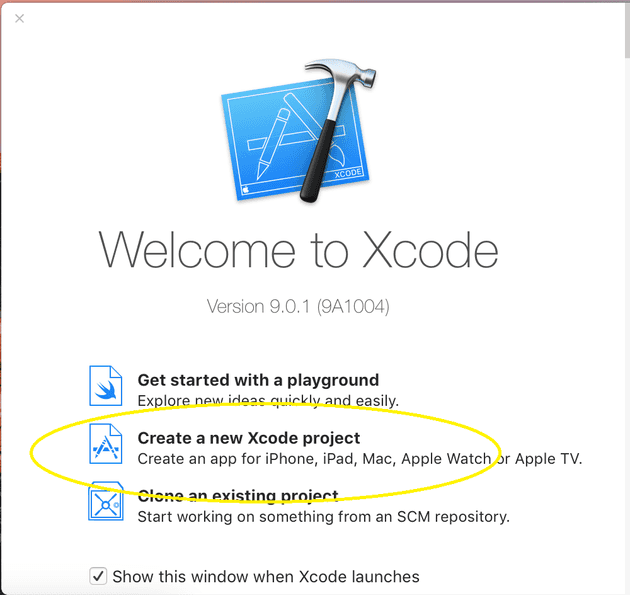
To a .Net programmer, this seems like an alien concept but, depending on the mode that you run Xcode in, it results in a different IDE. If, instead of selecting Plaground, we select “Create an Xcode Project”, the whole app experience changes:
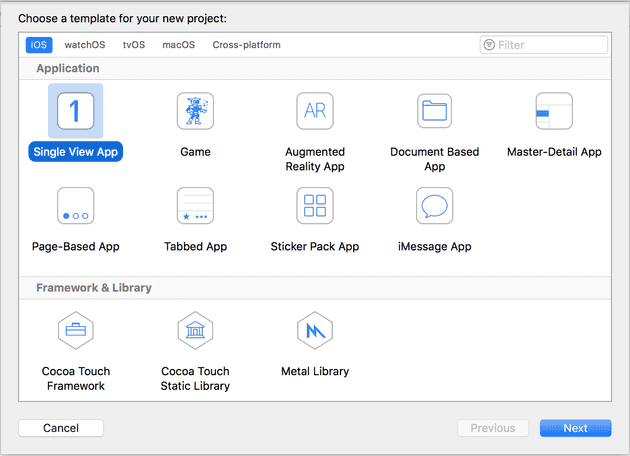
There are a lot more options available now; but let’s stick to the most basic:
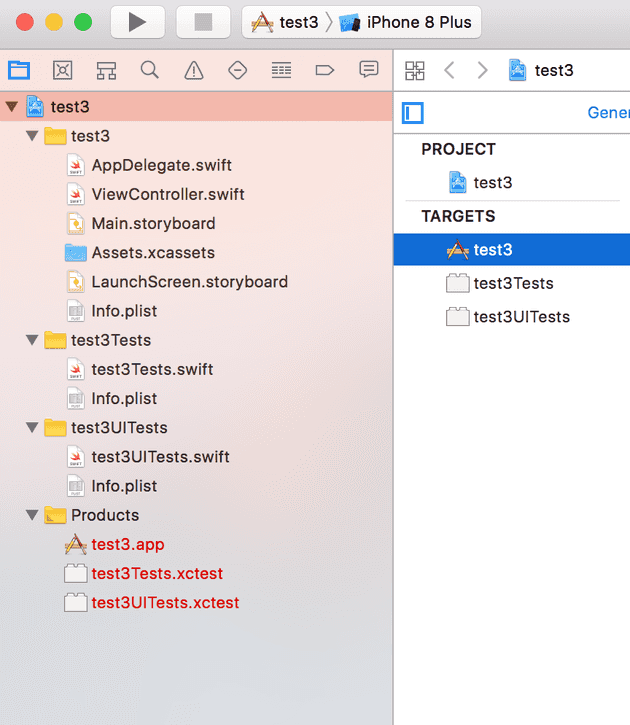
The created Single View App should look like this in structure:
The target of this post is simply to take the few lines of code that we wrote in part one, and have them run on a simulator.
The first thing it does is launch the ViewController, so let’s take the code that we created in the first part, and add it directly to the ViewController; the new controller will look like this:
import UIKit

class ViewController: UIViewController {

    override func viewDidLoad() {
        super.viewDidLoad()
        // Do any additional setup after loading the view, typically from a nib.

        let x = UILabel()
        x.text = "test"
        x.textColor = UIColor.black
        x.frame = CGRect(x: 5, y: 5, width: 80, height: 20)

        let v = UIView()
        v.frame = CGRect(x: 0, y: 0, width: 100, height: 100);
        v.backgroundColor = UIColor.white
        v.addSubview(x)

        self.view = v
    }

    override func didReceiveMemoryWarning() {
        super.didReceiveMemoryWarning()
        // Dispose of any resources that can be recreated.
    }


}
There are a couple of changes - firstly, we no longer reference Playground, and secondly, the active view is set here:
self.view = v
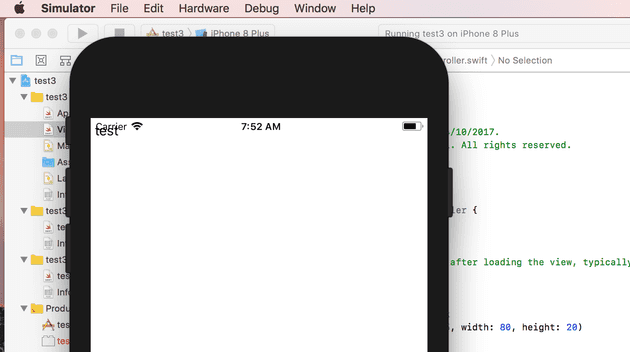
When we run this, we get the simulator appearing, and the text appears (as we might expect):


