One of the new features of the Microsoft’s Azure offering are Logic Apps: these are basically a workflow system, not totally dis-similar to Windows Workflow (WF so as not to get sued by panda bears). I’ve worked with a number of workflow systems in the past, from standard offerings to completely bespoke versions. The problem always seems to be that, once people start using them, they become the first thing you reach for to solve every problem. Not to say that you can’t solve every problem using a workflow (obviously, it depends which workflow and what you’re doing), but they are not always the best solution. In fact, they tend to be at their best when they are small and simple.
With that in mind, I thought I’d start with a very straightforward e-mail alert system. In fact, all this is going to do is to read an service bus queue and send an e-mail. I discussed a similar idea here, but that was using a custom written function.
Create a Logic App
The first step is to create a new Logic App project:
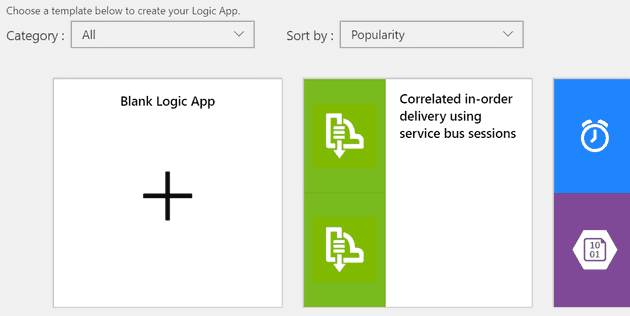
There are three options here: create a blank logic app, choose from a template (for example, process a service bus message), or define your own with a given trigger. We’ll start from a blank app:
Trigger
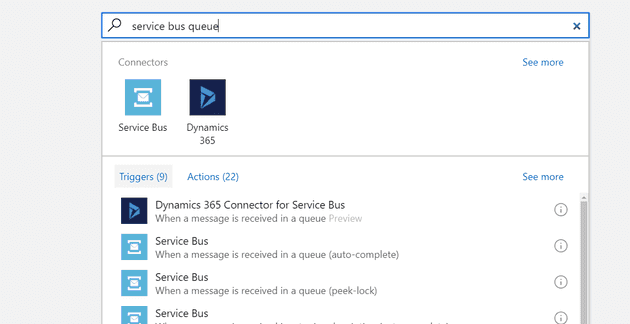
Obviously, for a workflow to make sense, it has to start on an event or a schedule. In our case, we are going to run from a service bus entry, so let’s pick that from the menu that appears:
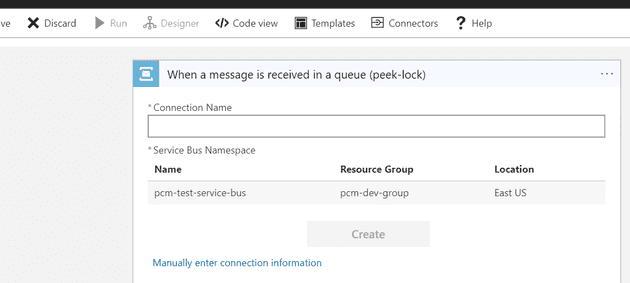
In this case, we’ll choose Peek-Lock, so that we don’t lose our message if something fails. I can now provide the connection details, or simply pick the service bus from a list that it already knows about:
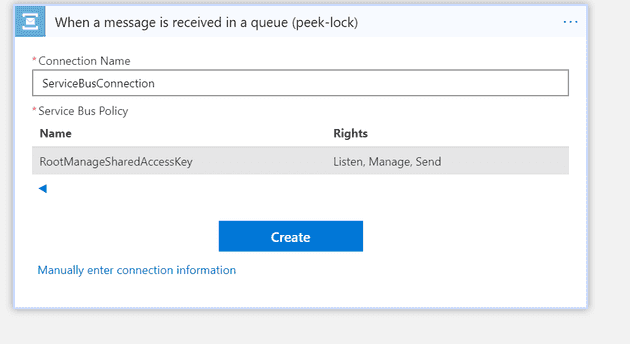
It’s not immediately obvious, but you have to provide a connection name here:
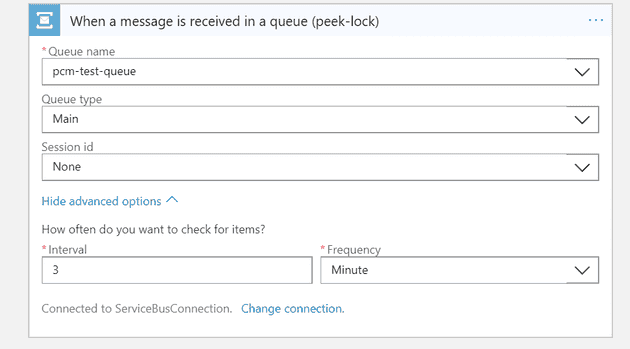
If you choose Peek-Lock, you’ll be presented with an explanation of what that means, and then a screen such as the following:
In addition to picking the queue name, you can also choose the queue type (as well as listening to the queue itself, you can run your workflow from the dead-letter queue - which is very useful in its own right, and may even be a better use case for this type of workflow). Finally, you can choose how frequently to poll the queue.
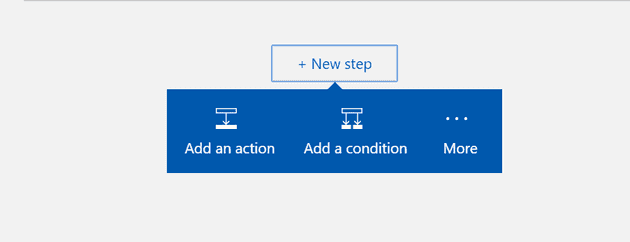
If you now pick “New step”, you should be faced with an option:
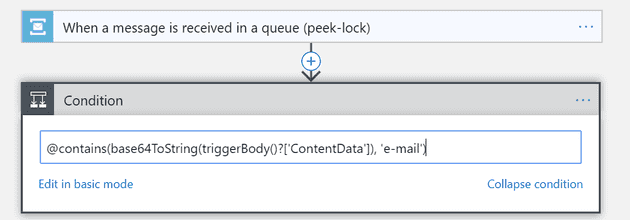
In our case, let’s provide a condition (so that only queue messages with “e-mail” in the message result in an e-mail):
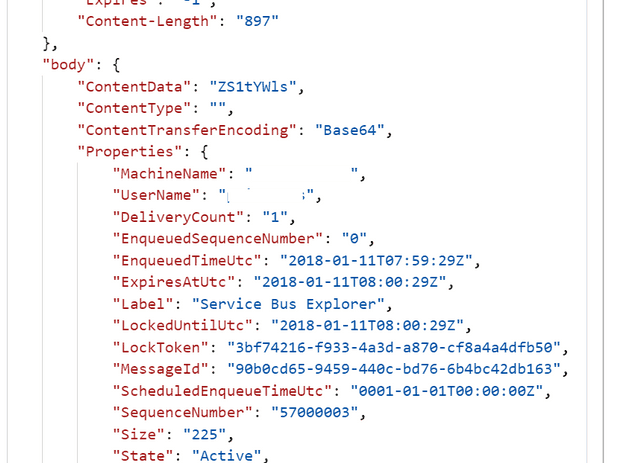
Before progressing to the next stage - let’s have a look at the output of this (you can do this by running the workflow and viewing the “raw output”):
Clearly the content data here is not what was entered. A quick search revealed that the data is Base64 encoded, so we have to make a small tweak in advanced mode:
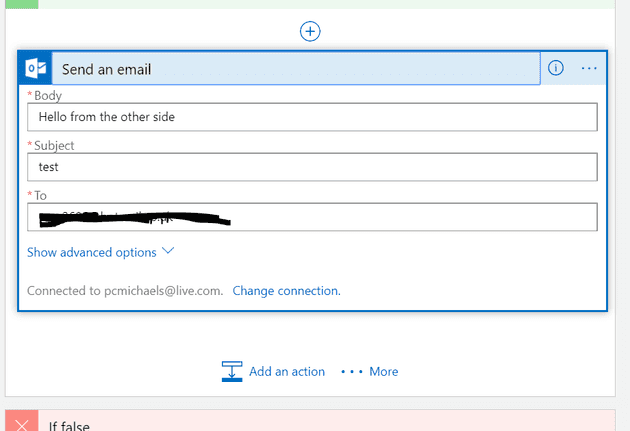
Okay - finally, we can add the step that actually sends the e-mail. In this instance, I simply picked Outlook.com, and allowed Azure access to my account:
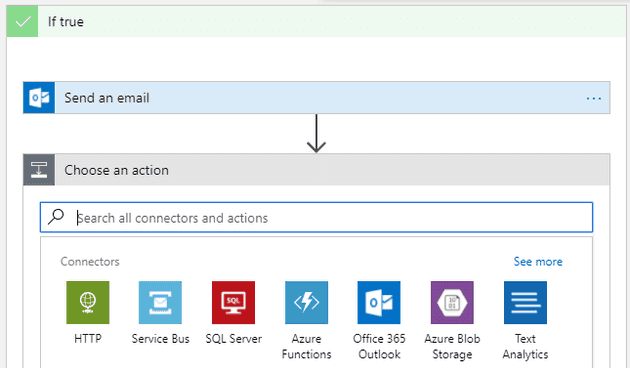
The last step is to complete the message. Because we only took a “peek-lock”, we now need to manually complete the message. In the designer, we just need to add an action:
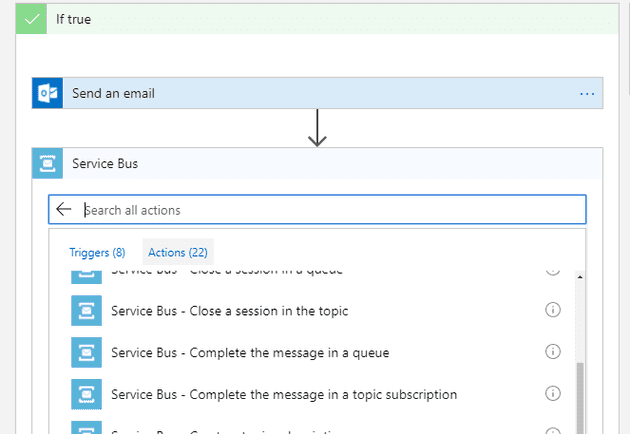
Then tell it that we want to use the service bus again. As you can see - that’s one of the options in the list:
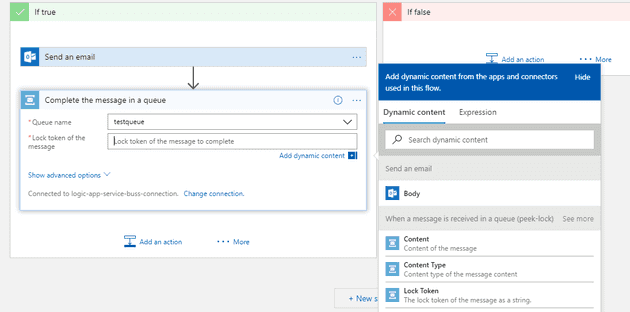
Finally, it wants the name of the queue, and asks for the lock token - which it helpfully offers from dynamic content:
Testing
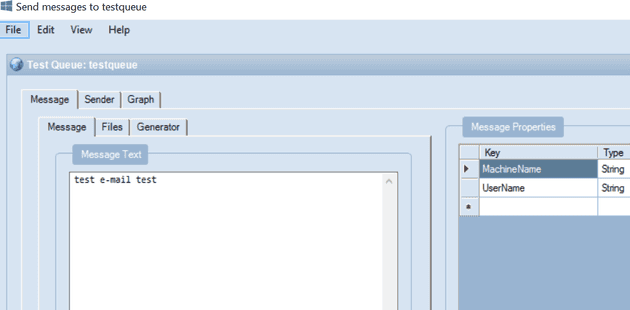
To test this, we can add a message to our test queue using the Service Bus Explorer:
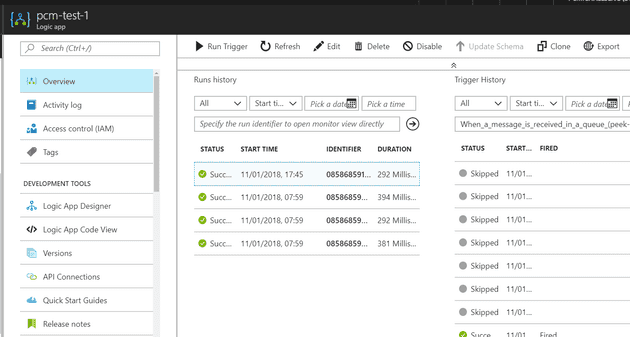
I won’t bother with a screenshot of the e-mail, but I will show this:
Which provides a detailed overview of exactly what has happened in the run.
Summary
Having a workflow system built into Azure seems like a two edged sword. On the one hand, you could potentially use it to easily augment functionality and quickly plug holes; however, on the other hand, you might find very complex workflows popping up all over the system, creating an indecipherable architecture.

