B2C is (one of) Microsoft’s offering to allow us programmers to pass the business of managing log-ins and users over to people who want to be bothered with such things. This post contains very little code, but lots of pictures of configuration screens, that will probably be out of date by the time you read it.
A B2C set-up starts with a tenant. So the first step is to create one:
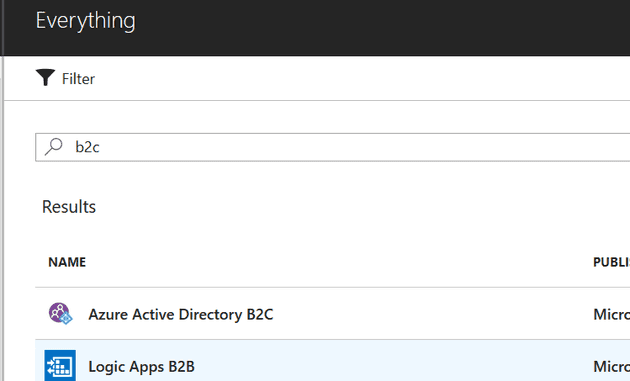
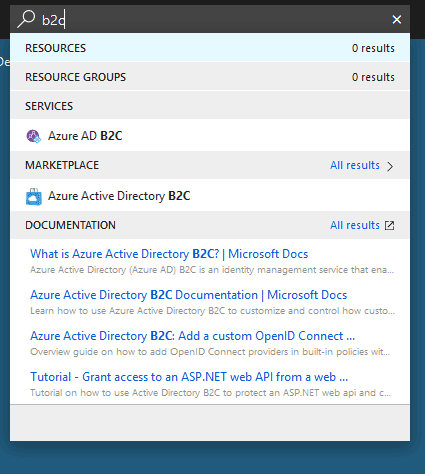
Select “Create a resource” and search for B2C:
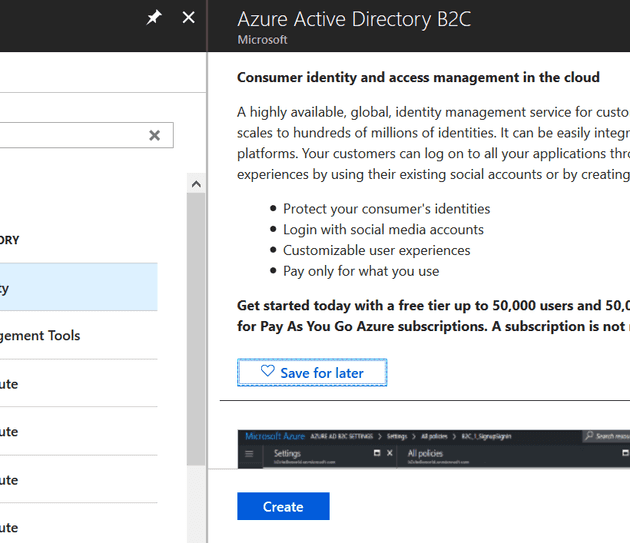
Then select “Create”:
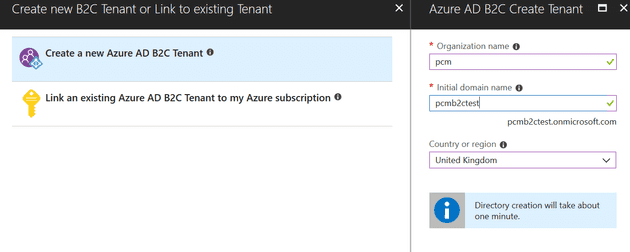
Now you can tell Azure what to call you B2C tenant:
It takes a while to create this, so probably go and get a brew at this stage. When this tenant gets created, it gets created outside of your Azure subscription; the next step is to link it to your subscription:
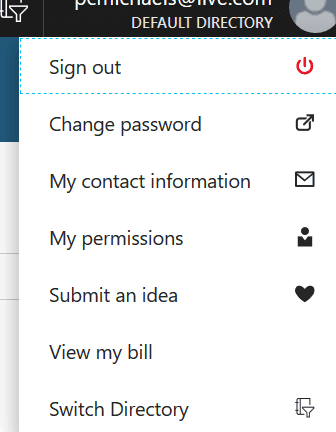
Once you have a tenant, and you’ve linked it to your subscription, you can switch to it:
If you haven’t done all of the above, but you’re scrolling down to see what the score is for an existing, linked subscription, remember that you need to be a Global Administrator for that tenant to do anything useful.
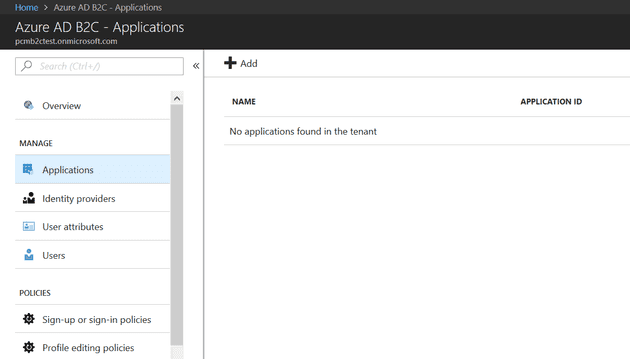
Once you’ve switched to your new tenant, navigate to the B2C:
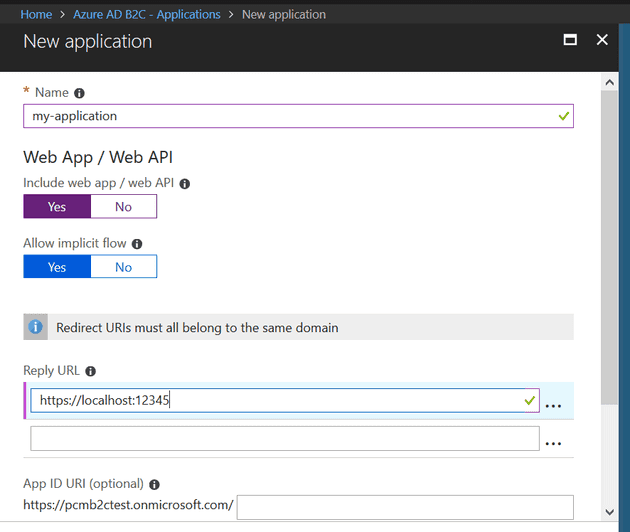
Your first step is to tell the B2C tenant which application(s) will be using it. Select “Add” in “Applications”:
This also allows you to tell B2C where to send the user after they have logged in. In this case, we’re just using a local instance, so we’ll send them to localhost:
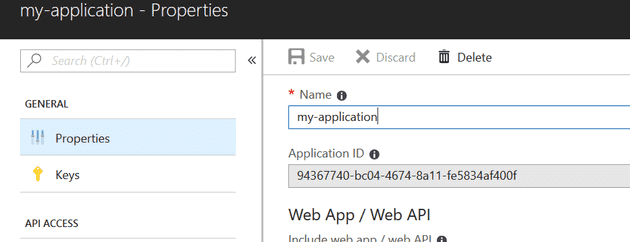
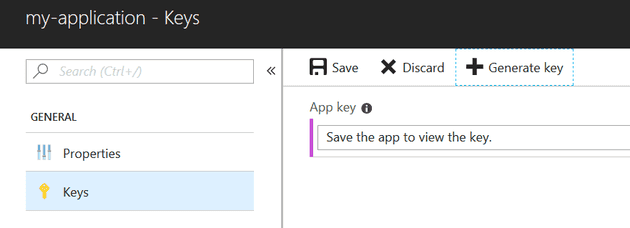
It doesn’t matter what you call the application; but you will need the Application ID and the key (secret), so keep a note of that:
You’ll need to generate the secret:
Policies
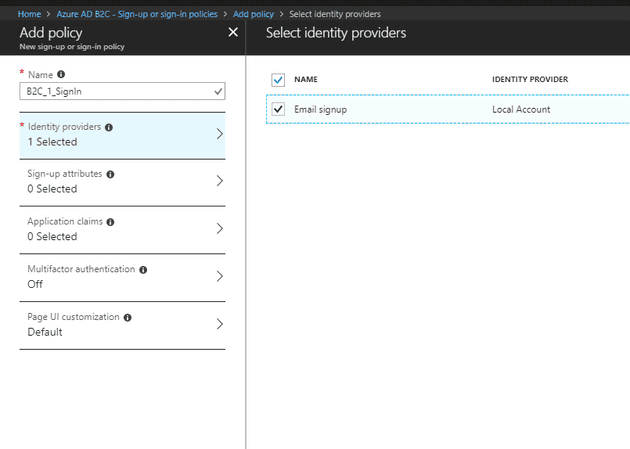
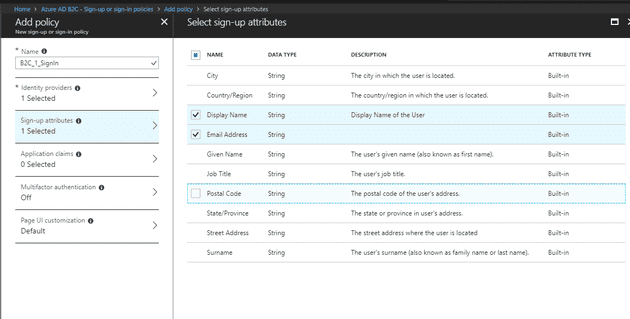
Policies allow you to tell B2C exactly how the user will register and log-in: do they just need an e-mail, or their name, or other information, what information should be available to the app after a successful log-in, and whether to use multi-factor authentication.
Add a policy:
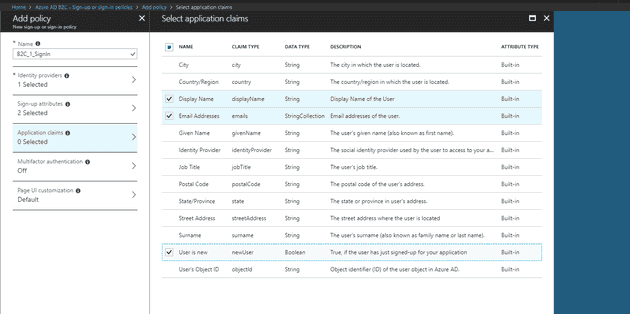
Next, set-up the claims (these are the fields that you will be able to access from the application once you have a successful log-in):
Summary
That’s it - you now have a B2C tenant that will provide log-in capabilities. The next step is to add that to a web application.
References
https://docs.microsoft.com/en-us/azure/active-directory-b2c/active-directory-b2c-tutorials-web-app
https://joonasw.net/view/aspnet-core-2-azure-ad-authentication
