Up until very recently, creating a Windows Service was the domain of the .Net Framework. However, since the release of the Windows Compatibility Pack that has all changed. In this article, we’ll create a .Net Core Windows Service from scratch.
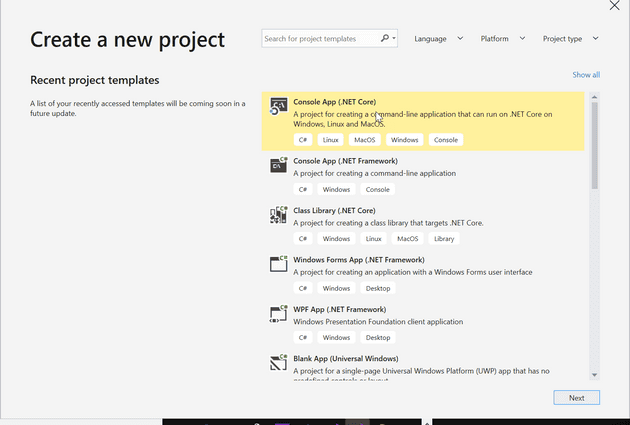
I’m using the preview version of Visual Studio 2019 for this post. As far as I’m aware, there is absolutely no functional difference between this and VS2017; however, the initial New Project screen does look a little different.
Create the Project
There are no “New Windows Service (.Net Core)” options in Visual Studio, so we’re just going to create a console application (everything is a console application in .Net Core):
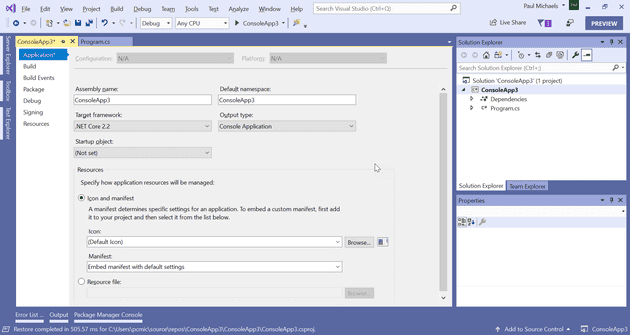
The .Net Core application can target .Net Core 2.2:
Windows Compatibility
The next step is to install the Windows Compatibility NuGet package:
Install-Package Microsoft.Windows.Compatibility
Write the Service
Let’s start with the main method:
static void Main(string[] args)
{
    using (var service = new TestSevice())
    {
        ServiceBase.Run(service);
    }
}
You’ll need to Ctrl-. ServiceBase. TestService doesn’t exist yet, so let’s create that:
internal class TestSevice : ServiceBase
{
    public TestSevice()
    {
        ServiceName = "TestService";
    }

    protected override void OnStart(string[] args)
    {
        string filename = CheckFileExists();
        File.AppendAllText(filename, $"{DateTime.Now} started.{Environment.NewLine}");
    }

    protected override void OnStop()
    {
        string filename = CheckFileExists();
        File.AppendAllText(filename, $"{DateTime.Now} stopped.{Environment.NewLine}");
    }

    private static string CheckFileExists()
    {
        string filename = @"c:\\tmp\\MyService.txt";
        if (!File.Exists(filename))
        {
            File.Create(filename);
        }

        return filename;
    }

}
Not exactly a complicated service, I’ll grant you.
Installing
For Framework apps, you could use InstallUtil, but if you try that on a Core app, you get an annoyingly vague error! Instead, you need to find the place where the binary has been compiled; for example:
C:\\Users\\pcmic\\source\\repos\\ConsoleApp3\\ConsoleApp3\\bin\\Debug\\netcoreapp2.2
Now, launch a command prompt as admin, and type the following:
>sc create [service name] binpath=[full path to binary]
For example:
>sc create pcmtestservice binpath=C:\\Users\\pcmic\\source\\repos\\ConsoleApp3\\ConsoleApp3\\bin\\Debug\\netcoreapp2.2\\ConsoleApp3.exe
You should get the response:
[SC] CreateService SUCCESS
You can then either start the service from here:
>sc start pcmtestservice
Or locate it in the services utility and start it from there. You should now be able to start and stop the service and see it logging the events as you do so.
If you need to remove the service, use:
>sc delete pcmtestservice
References
https://stackoverflow.com/questions/7764088/net-console-application-as-windows-service

