Following on from my previous post, I’m going to extend our ReactJS application by adding some boxes, and allowing the user to re-arrange them on the screen.
Concepts
There are two key concepts to consider when working with React, and we’ll cover one of them in this post; that is: state.
React has a special property of each component known as state. If you use that to bind any of the UI to, then React will refresh that component when the state changes.
Moving a UI Element
Okay - that sounds great, but how would we do this in practice?
Imagine that you have a HTML box drawn on the screen; you might have something like this:
[code lang=“html”]
We can draw a box.  If you use this code, then your box will be on the top left of the screen; so we can tell it not to be by specifying the left and top; let's try defining a CSS style:

[code lang="html"]
<div style="left:10px; top:20px;height:100px; width:200px; background:#0000FF" />
With React, we can set those values to a value derived from the state; for example:
[code lang=“html”] render() { const top = this.state.newY; const left = this.state.newX;
const myStyle = {
    height: '100px',
    width: '200px',
    top: \`calc(${top}px)\`,
    left: \`calc(${left}px)\`,
    borderStyle: 'solid',
    borderColor: 'blue',
    position: 'absolute',
    zIndex: 1,
    background: 'blue'
};

return (
    <div>
        <div style={myStyle}>source</div>
    </div>
);
}
What this means is that every time I change the state values, the values in the style will update.

To illustrate this, if we write a React application like this (only the timeout function is new):

[code lang="html"]
render() {
    const top = this.state.newY;
    const left = this.state.newX;
    const myStyle = {
        height: '100px',
        width: '200px',
        top: \`calc(${top}px)\`,
        left: \`calc(${left}px)\`,
        borderStyle: 'solid',
        borderColor: 'blue',
        position: 'absolute',
        zIndex: 1,
        background: 'blue'
    };

    setTimeout(() => {
        this.setState({newX: this.state.newX + 1, newY: this.state.newY + 1});
    }, 50);

    return (
        <div>
            <div style={myStyle}></div>
        </div>
    );
}
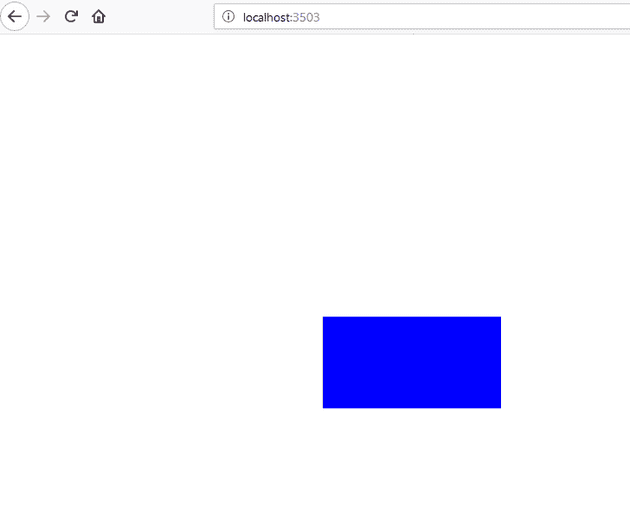
We can make out box move diagonally across the screen:
Screenshot included because you couldn’t possibly imaging what a blue rectangle looks like.
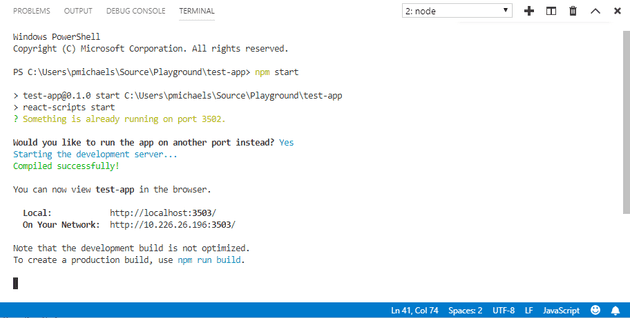
Start the app using VS Code
A quick note on VS Code. If you select Terminal -> New from the menu, you can run the React application directly from the IDE; and the best part is that if there’s something already running on the port, VS Code will just give you a new one:

