Deployment is hard. Arguably, deployment is the reason the web apps have won over desktop apps. I’ve seen applications written as web apps that would have been easier, faster and more reliable written as desktop applications; however, the deployment problem is such a big factor, that these days, you have to have such a compelling reason to create a desktop application that they are almost unheard of.
With .Net Core 3, came a new attempt from Microsoft to make this whole deployment process easier. MSix allows you to take a Winforms or WPF application, and package it up in a very similar way to that used for UWP. You can then deploy these to the Windows Store; or, you can self host them, and deploy them from your own web-site.
Using an MSix does solve a number of deployment problems; for example, it pretty much picks up where ClickOnce left off. It guarantees that you’re not installing anything horrendous on your machine, because the packaging process sandboxes the application.
However, it is, by no means, perfect. This post covers how you can create a side-loaded deployment project. As a disclaimer, I used this post from James Montemagno as a base for this; however, there were a couple of parts where I got stuck with his post, so hopefully this fills in some gaps.
The post assumes that you have a WPF or WinForms application that you wish to deploy, and that you’re using Visual Studio.
- Set runtime identifier:
<PropertyGroup>
    <!--Regular Settings-->
    <Platforms>AnyCPU;x64;x86</Platforms>
    <RuntimeIdentifiers>win-x64;win-x86</RuntimeIdentifiers>
  </PropertyGroup>
<PropertyGroup Condition="'$(Configuration)|$(Platform)'=='Release|x64'">
    <PlatformTarget>x64</PlatformTarget>
  </PropertyGroup>
<PropertyGroup Condition="'$(Configuration)|$(Platform)'=='Release|x86'">
    <PlatformTarget>x86</PlatformTarget>
  </PropertyGroup>
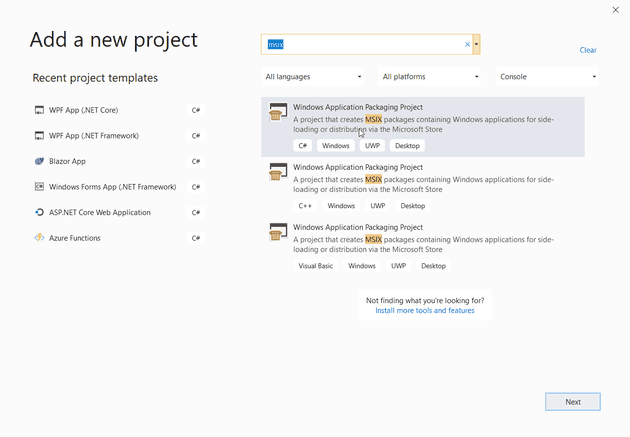
- Create new Windows Application Packaging Project in your solution:
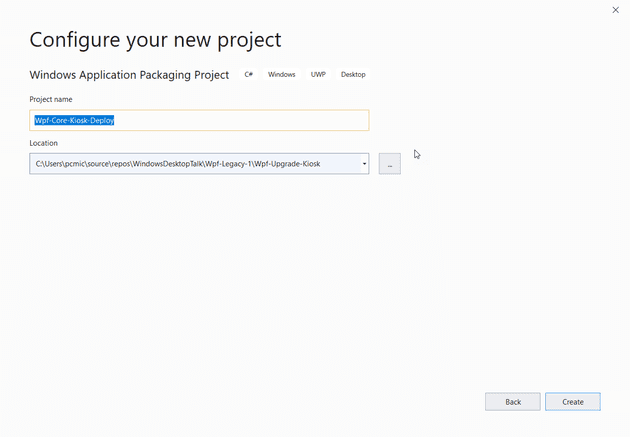
- Name project:
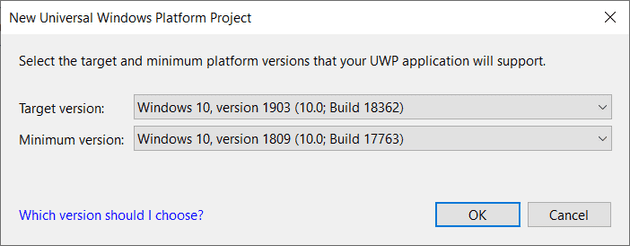
- Pick a minimum and target version:
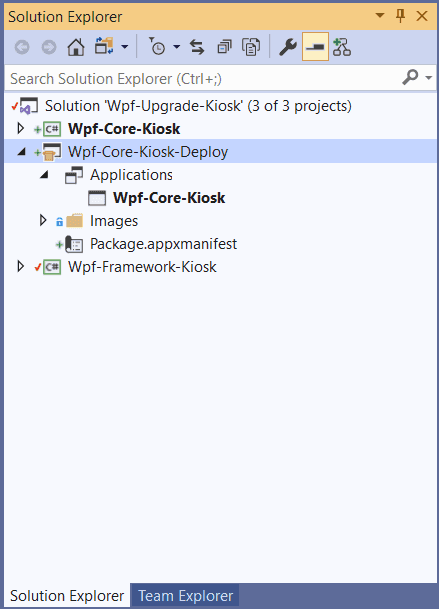
- Add reference to the project to deploy. That is, reference the project that you wish to be deployed by your packaging application:
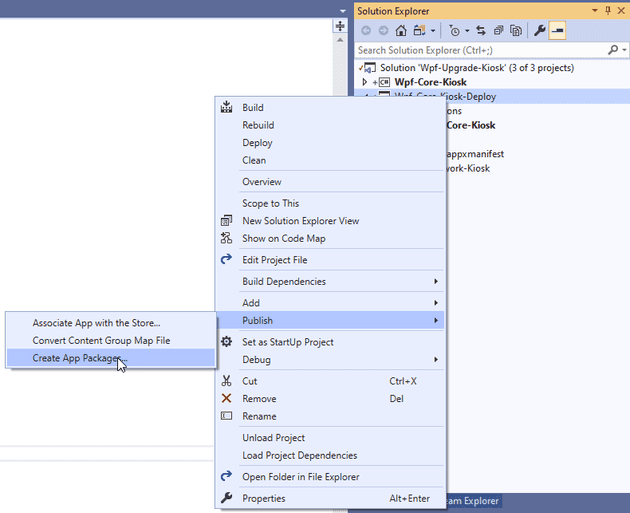
- Create App Packages (if you were publishing to the store, and you’d already created the app in the store, this is where you would diverge from these instructions):
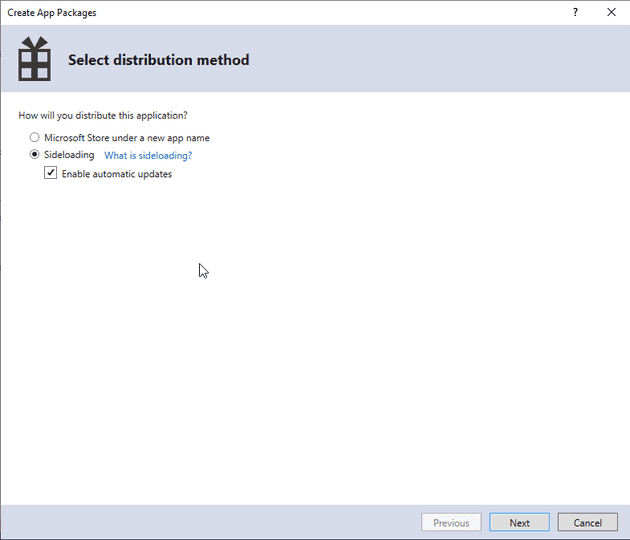
- Select Sideloading (if you were registering a store app for the first time, this is where you would diverge from these instructions):
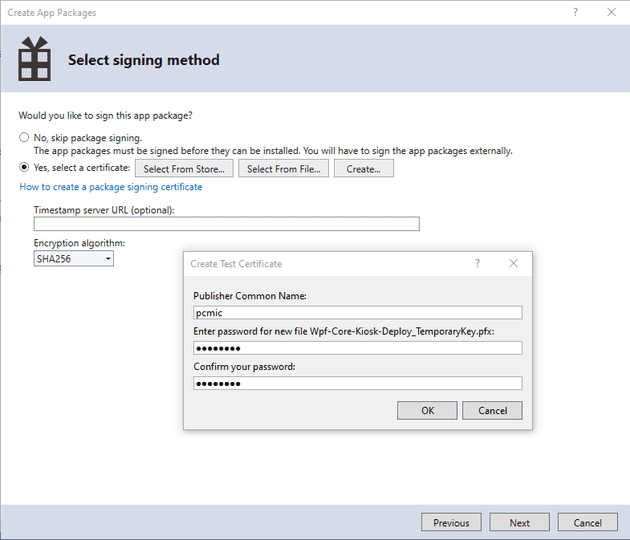
- Create a test certificate:
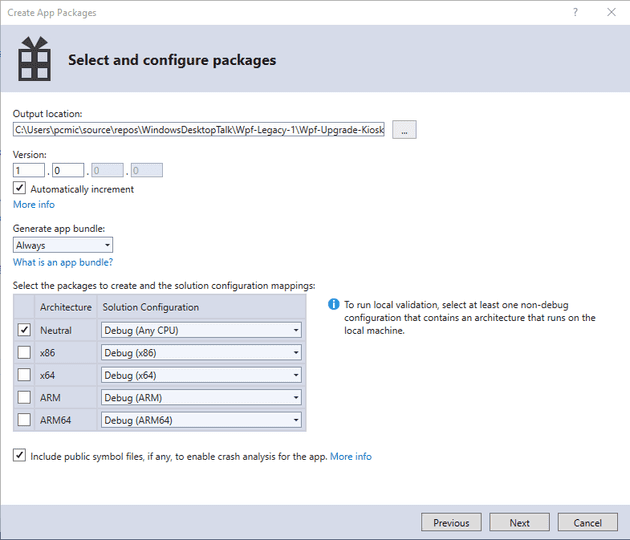
- Set-up version and target platforms:
- Create a distribution web site (https://docs.microsoft.com/en-us/windows/msix/app-installer/web-install-azure):
Contrary to what this screenshot may lead you to believe, don’t bother doing anything to it just yet - just create it so that you have the URL.
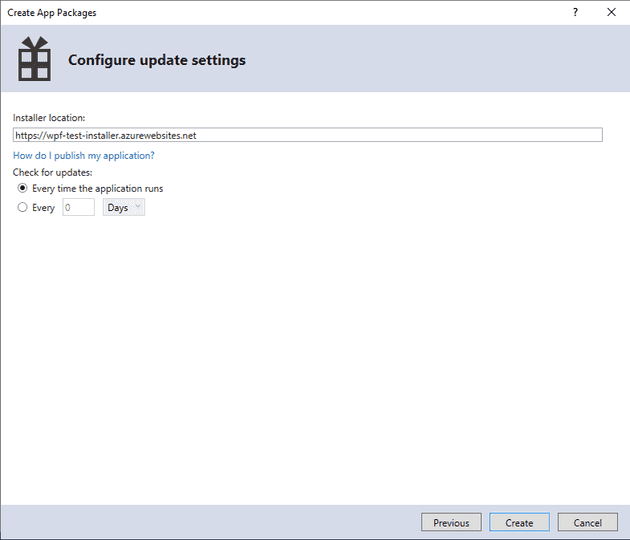
- Deploy the app packages (you’ll need the URL from above):
-
Once you’ve published the app, install the test certificate to Local Machine -> Trusted Root Certificates. Obviously, were you to do this in real life, you’d need a kosher certificate.
-
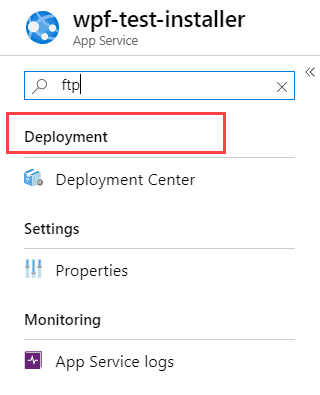
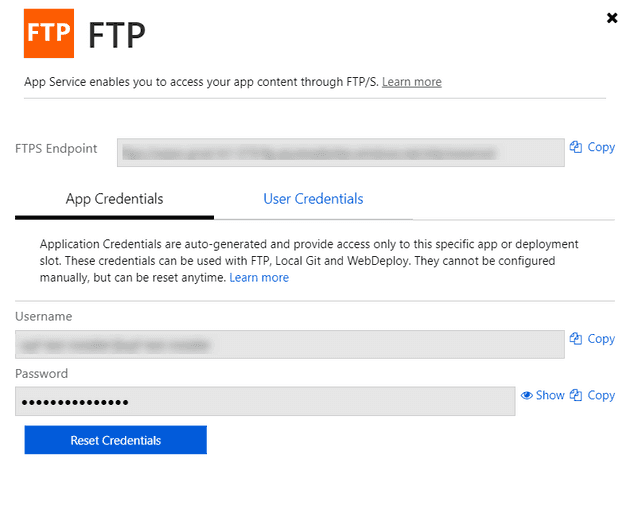
FTP the entire contents of the AppPackages directory to the site. To find the FTP details, select the deployment centre:
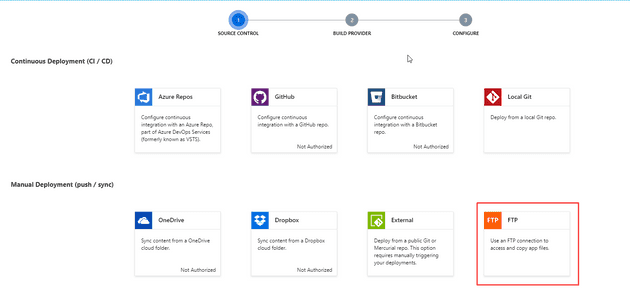
From here, select FTP:
Once you select FTP, a Dashboard button will appear at the bottom of the screen, select that, and the FTP credentials should appear:
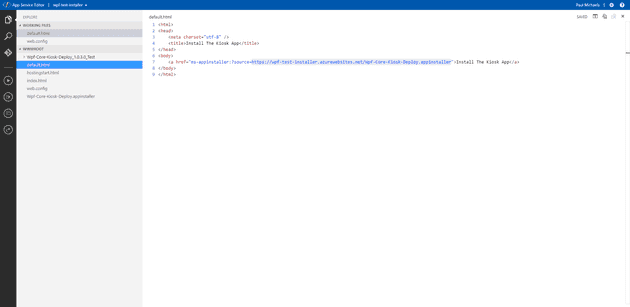
- Create the default.html, as shown above; clearly, you’ll need your own link, but the format should be the same as mine.
That’s it - you should have a web-site with a link that allows you to install a desktop application locally (albeit you’ll need the certificate installed on the local machine).
References
https://montemagno.com/distributing-a-net-core-3-wpf-and-winforms-app-with-msix/
https://docs.microsoft.com/en-gb/windows/msix/app-installer/web-install-azure
https://www.advancedinstaller.com/install-test-certificate-from-msix.html
