In this post, I’m going to download Terraform and create a resource group, and then change the location of that resource group. Most of what is in this post is much more succinctly put in the link to the Terraform tutorial at the end. Feel free to jump to the end and go there (I won’t be offended).
Download
Terraform is an application that runs locally, however, the install procedure is essentially just download an exe and place it in a directory. The download link is here. For my test, I downloaded the 64 bit Windows exe, and just extracted it to c:\tmp.
If you now run the Windows Terminal, you can run the terraform.exe and you’ll see a list of possible commands:
Since this is just an experiment, I won’t edit the path (perhaps we’ll come back to that in a later post), but if you are installing this, then it makes sense to have it in your Windows PATH - that way you can run it from anywhere.
To set-up terraform, the first step is to run:
.\\terraform.exe init
If you do that now, you’ll get an error:
The directory has no Terraform configuration files. You may begin working with Terraform immediately by creating Terraform configuration files.
Configuration Files
Configuration files essentially tell Terraform what you want it to do. At a very basic level, they have two sections:
Provider Block - where are we creating infrastructure
Resource Block - what are we creating
There are other features and sections, but getting down to basics, we need to say what we are creating, and where to create it.
The sample configuration from the tutorial referenced at the bottom of this post is this:
terraform {
  required\_providers {
    azurerm = {
      source = "hashicorp/azurerm"
      version = ">= 2.26"
    }
  }
}

# Provider - creating Infrastructure in Azure
provider "azurerm" {
  features {}
}

# Resource - creating a resource group
resource "azurerm\_resource\_group" "rg" {
  name     = "myTFResourceGroup"
  location = "westus2"
}
Now that we’ve created that, we can run init again; this time, it should work:
.\\terraform.exe init
Plan
Let’s run this. Step one is to log-in to Azure - to do this, you’ll need the Azure CLI:
az login
Once you’re logged in to Azure, create the terraform plan:
.\\terraform.exe plan
An execution plan has been generated and is shown below. Resource actions are indicated with the following symbols:
- create
Terraform will perform the following actions:
- resource “azurerm_resource_group” “rg” {
}
- id = (known after apply)
- location = “westus2”
- name = “myTFResourceGroup”
Plan: 1 to add, 0 to change, 0 to destroy.
That all looks good - so let’s apply that:
.\\terraform.exe apply
This takes the plan, and executes it. Checking in the Azure Portal, I can see that I now have a resource group called myTFResourceGroup:
Okay, so this is where the tutorial took me to.
Change of Plan
I happen to live in the UK; so the first thing I want to try is to change the location. I actually thought that terraform would balk at this; but no. Here’s the modified .tf file:
terraform {
  required\_providers {
    azurerm = {
      source = "hashicorp/azurerm"
      version = ">= 2.26"
    }
  }
}

provider "azurerm" {
  features {}
}

resource "azurerm\_resource\_group" "rg" {
  name     = "myTFResourceGroup"
  location = "ukwest"
}
When I run this, it actually comes up with a way to get from where it is to where I want it to be:
PS C:\tmp> .\terraform.exe plan azurerm_resource_group.rg: Refreshing state… [id=/subscriptions/16a7fc79-9bea-4d04-83a1-09f3b260adb0/resourceGroups/myTFResourceGroup]
An execution plan has been generated and is shown below. Resource actions are indicated with the following symbols: -/+ destroy and then create replacement
Terraform will perform the following actions:
azurerm_resource_group.rg must be replaced
-/+ resource “azurerm_resource_group” “rg” { ~ id = “/subscriptions/16a7fc79-9bea-4d04-83a1-09f3b260adb0/resourceGroups/myTFResourceGroup” -> (known after apply) ~ location = “westus2” -> “ukwest” # forces replacement name = “myTFResourceGroup” - tags = {} -> null }
Plan: 1 to add, 0 to change, 1 to destroy.
Okay, so what it’s telling me is that it’s going to trash my resource group, and recreate it in the correct location. That seems fine, so I’ll apply that change.
Pulling The Rug
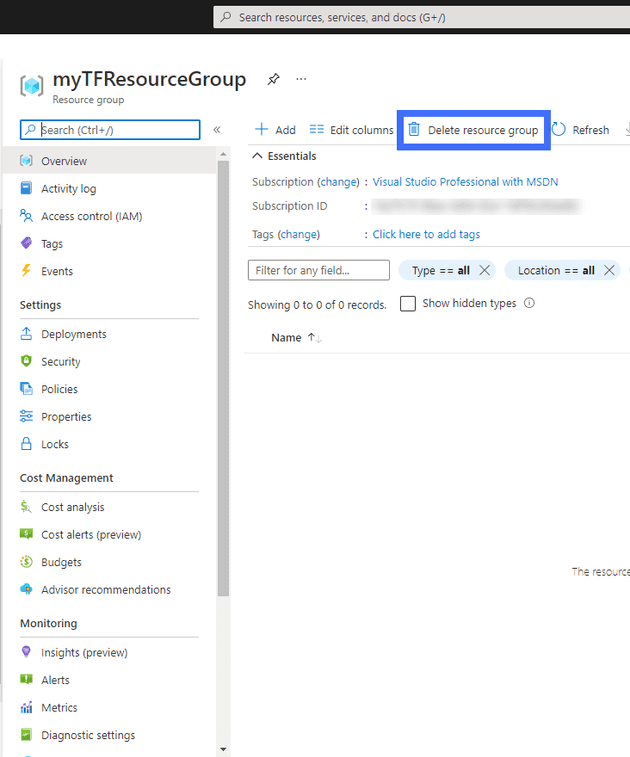
Next, I wanted to see what would happen if I just removed the resource group from the portal. My guess was that Terraform should realise what happened and simply recreate it.
And, sure enough, that’s exactly what it did:
An execution plan has been generated and is shown below. Resource actions are indicated with the following symbols:
- create
Terraform will perform the following actions:
azurerm_resource_group.rg will be created
- resource “azurerm_resource_group” “rg” {
}
- id = (known after apply)
- location = “ukwest”
- name = “myTFResourceGroup”
Plan: 1 to add, 0 to change, 0 to destroy.
References
https://learn.hashicorp.com/tutorials/terraform/azure-build?in=terraform/azure-get-started


