Imagine a situation where your web-site is being linked to, or referenced, such that the case of the URL differs; or, for example, where you wish to change a given part of the URL. Let’s use the following URL from my site as an example:
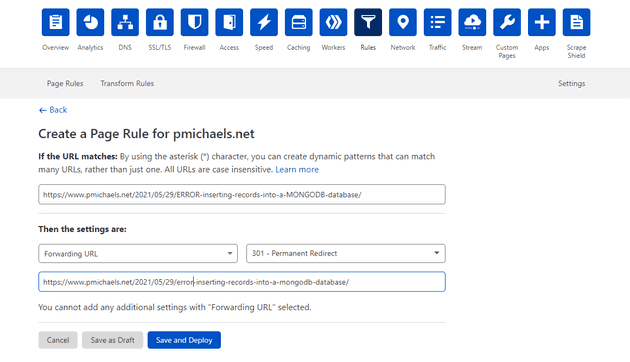
One possibility in Cloudflare is that you could set up a custom redirect rule (i.e. just create a new rule that redirects from the address above to the lower case version; for example:
But what if you have dozens of such examples, and they all differ very slightly. I’ve been playing a little with a new(ish) Cloudflare feature called Workers.
In this post, I’ll cover getting started with Workers, how to use one to perform some custom logic on your URL, and link that to your domain.
Wrangler
The tool that you’d use to set these workers up is called Cloudflare Wrangler. To install Wrangler:
npm install -g @cloudflare/wrangler
Once installed, execute the following to ensure that you’ve correctly installed it:
wrangler --version
The next step is to log-in to your Cloudflare account from Wrangler:
wrangler login
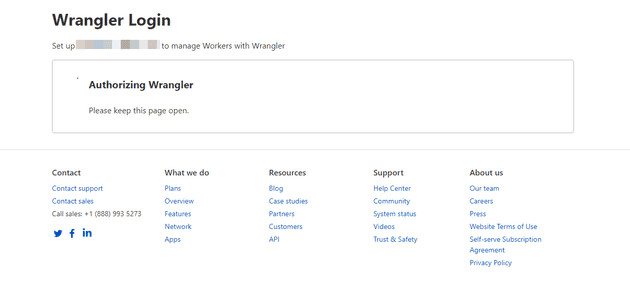
That will ask to launch the browser, and get you to log-in:
Once you’ve authorised this, you can create your new Cloudflare Worker project:
wrangler generate wrangler-test-1
This will generate a project folder in the current directory:
Once this is done, take the Account ID (shown above), and open the wrangler.toml file that has been created within your project. Set the account_id in there:
name = "wrangler-test-1"
type = "javascript"

account\_id = "f8021e056d0d5e96c9b3ba4ad054bb2c"
workers\_dev = true
route = ""
zone\_id = ""
You should now be able to debug this locally by typing:
wrangler dev
However, if you run that at this point, you’ll most likely get a 500 error:
Error: HTTP status server error (500 Internal Server Error) for url (https://…
Set-up Workers
The reason you’ll get this is that you have yet to set-up Workers on your Cloudflare account.
(It’s worth bearing in mind that, whilst there is a free tier, Cloudflare workers can cost money after a given number of requests.)
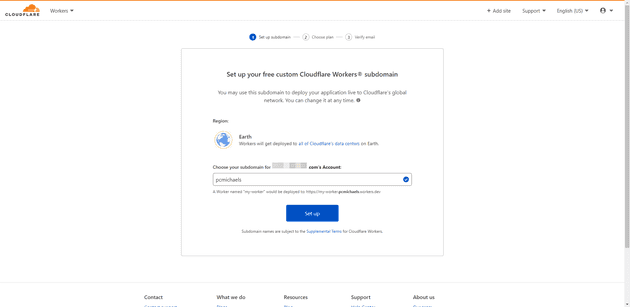
In your Cloudflare account, select Workers and click Set up:
Now that Workers are set up, you should be able to resume:
wrangler dev
This looks like it’s running on localhost; which, in fact, it is; however, all the requests are being proxied through Cloudflare (and so the worker will execute on their servers).
You can also simply publish your worker, like so:
wrangler publish
As you can see, this gives you a specific Url to navigate to. The default example allows you to display “Hello World” based on the request.
Write the Worker
Up until now, we’ve just taken the default worker code; but what about something such as the following:
addEventListener('fetch', event => {
  event.respondWith(handleRequest(event.request))
})
/\*\*
 \* Respond with hello worker text
 \* @param {Request} request
 \*/
async function handleRequest(request) {
  const destinationUrl = request.url;
  const newUrl = request.url.toLowerCase();
  if (destinationUrl == newUrl)  {
    return await fetch(request)
  } else {
    return Response.redirect(newUrl, 301);
  }
}
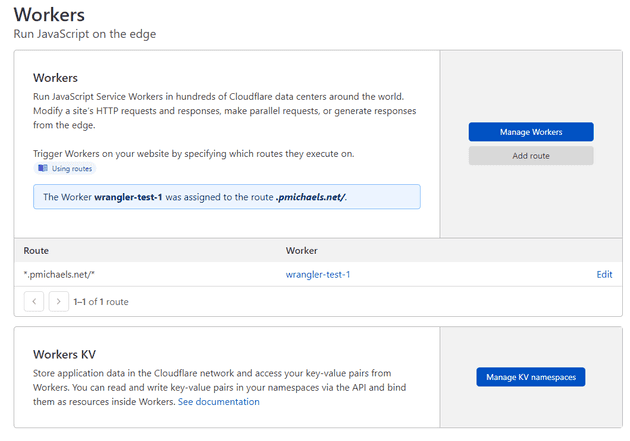
All we’re doing here is checking is the URL is lower-case; if it’s not then we make it lower case. Obviously, if you execute this on its own domain, the worker will not respond, but you can then map this to a different domain; for example:
Now, all the requests coming into pmichaels.net will be manipulated, and then passed through. If we map this and re-execute the initial request:
It’s worth bearing in mind that this executes on all requests to your site. For example, say you did something like this:
async function handleRequest(request) {
  const destinationUrl = request.url;
  if (destinationUrl.includes('2021')) {
    return await fetch(request)
  } else {
    return Response.redirect("https://www.pmichaels.net", 301);
  }
This would work, but the CSS, for example, may fail, because the URL for the CSS may not have 2021 in the title, and so try to redirect the request away.


