In this previous post I showed how you can set-up a custom domain in Azure and link that to your app service. Here, I’ll cover how you can add Cloudflare as a reverse proxy to your Azure site.
Start with Cloudflare
For the purpose of this post, I’ll assume that you have a Cloudflare account. I believe that everything in this post can be accomplished on the free tier. The first step is to add a new site to Cloudflare:
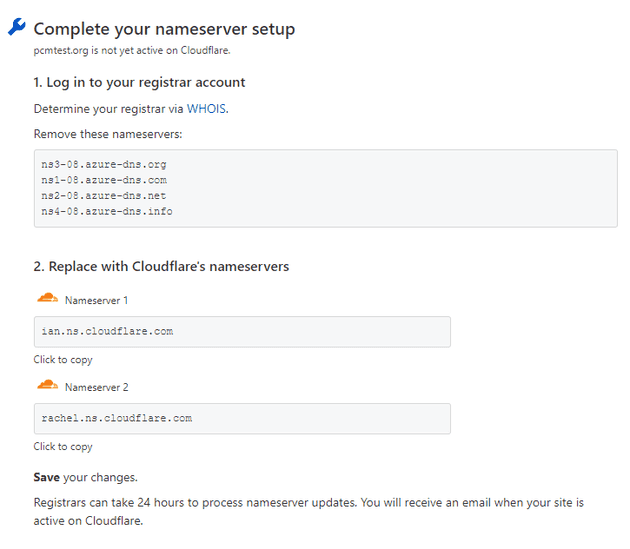
It’ll ask you for the URL of your site (you must own the root domain of your site). When you add your new site, you’ll be presented with this:
In order to make the changes that Cloudflare suggests, you’ll need to jump to Azure.
Over to Azure
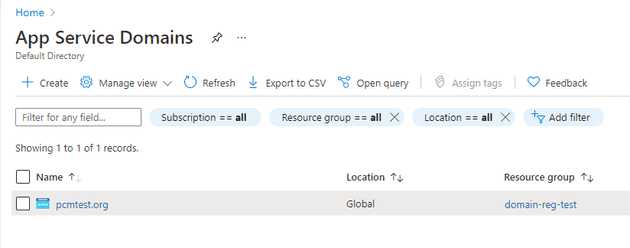
In the Azure Portal, navigate to your App Service Domain (see the previous post referenced above for how to create this):
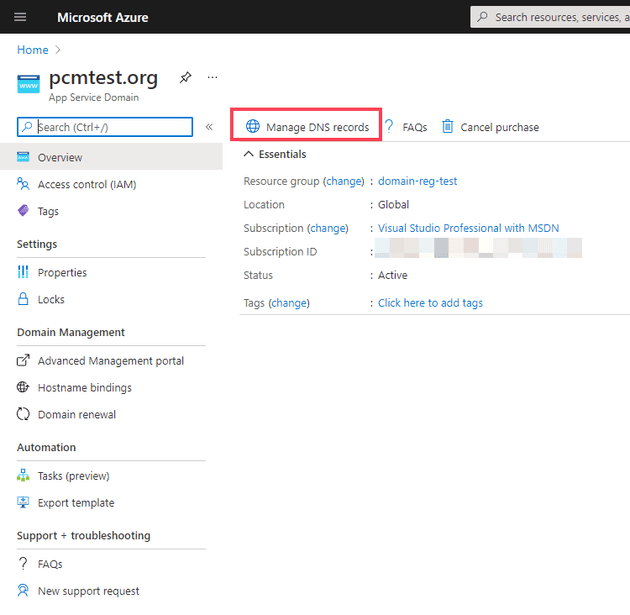
In the domain registration, you’ll need to select Manage DNS records:
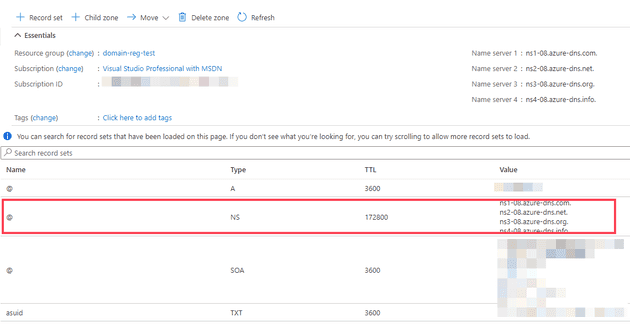
Here, you can see the DNS entries for the domain:
As we saw from the Cloudflare recommendation, we’ll need to change these; although annoyingly, you can’t change them in this blade.
Advanced Management Portal
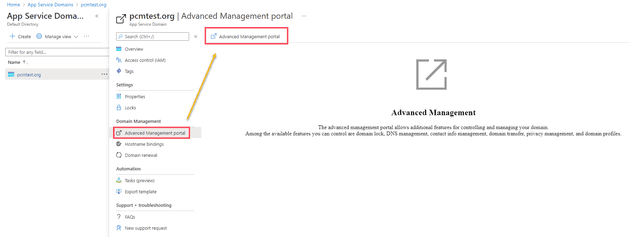
To change the nameservers, in the App Service Domain, go to Advanced Management Portal:
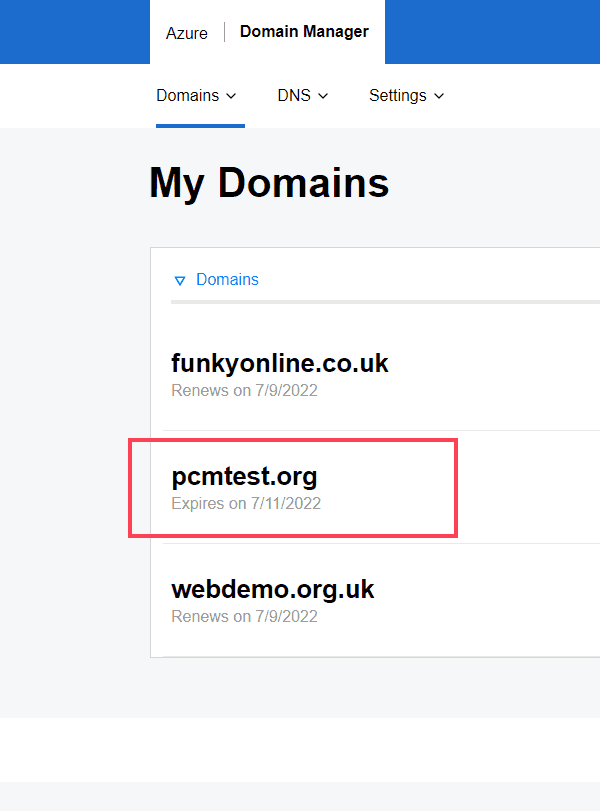
In here, select your domain:
Select Manage DNS:
When you update this, it may take up to a day to change (although it can take a few minutes).
References
https://docs.microsoft.com/en-us/azure/dns/dns-operations-recordsets-portal

