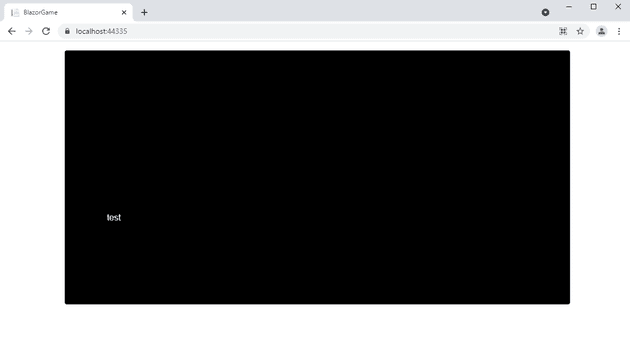
In this post I started the process of writing a very vague approximation of Jet Set Willy, in an effort to regain my youth.
Here, we’re going to take those very vague foundations, and allow left and right controls, along with a jump function. As a caveat, I’m going to state here that I expect quite large swathes of this code to change significantly before I declare it complete; and, as another caveat, there were 60 rooms in the original Jet Set Willy. I’ll be surprised if this series of posts manages to replicate the bathroom (which is the first room).
From the first post, we have a Game.razor, and all the code for this post will go into there. You can simply view that code here.
I’ve introduced a game loop here, which calls an update and then a draw method. Currently, the game loop is just a crude timer:
    private void TimerElapsed(Object source, System.Timers.ElapsedEventArgs e)
    {
        Update();
        Draw();
    }
This gets registered in the OnInitializedAsync method:
    protected override Task OnInitializedAsync()
    {
        \_timer = new Timer();
        \_timer.Interval = 16;
        \_timer.Elapsed += TimerElapsed;
        \_timer.AutoReset = true;
        \_timer.Enabled = true;

        return base.OnInitializedAsync();
    }
The Draw method is, in fact, just a single line:
private void Draw() => this.StateHasChanged();
The reason for this is that Blazor doesn’t always automatically refresh state - updating bound objects on a timer is one of the times when it doesn’t. The Update method has a little more to it:
    private void Update()
    {
        ApplyGravity();
        \_top -= \_forceUp;

        if (\_top > FLOOR)
        {
            \_top = FLOOR;
            \_forceUp = 0;
        }

        if (\_left <= 0 && \_forceRight < 0) \_forceRight = 0;

        \_left += \_forceRight;
    }
Anything in caps is just a constant. The rest of the code basically takes care of the left, right, and jump.
Next, we’ll need to modify the HandleKeyDown method:
    private void HandleKeyDown(KeyboardEventArgs e)
    {
        switch (e.Code)
        {
            case "ArrowLeft": // Left
                if (\_forceUp == 0)
                {
                    Walk(-SPEED);
                }
                break;
            case "ArrowUp": // Up
                Jump();
                break;
            case "ArrowRight": // Right
                if (\_forceUp == 0)
                {
                    Walk(SPEED);
                }
                break;
            default:
                break;
        }
    }
As you can see, we’ve added Jump and Walk methods. All the logic has moved into those methods:
    private void Walk(int amt) => \_forceRight = amt;

    private void Jump()
    {
        if (\_forceUp == 0)
        {
            \_forceUp += JUMP\_FORCE;
        }
    }
Since Walk needs to be immediate, we just set the _forceRight to whatever value it’s passed; similarly with the jump, although we can’t allow a double jump, so we determine if a jump is in progress first.
Finally, we’ve added a HandleKeyUp: this stop walking when the key is released.
    private void HandleKeyUp(KeyboardEventArgs e)
    {
        switch (e.Code)
        {
            case "ArrowLeft": // Left
                Walk(0);
                break;

            case "ArrowRight": // Right
                Walk(0);
                break;

            default:
                break;
        }
    }
If you run this, you should now be able to walk “test” around the screen, and cause him to jump.
What’s Next?
For the next steps, I’m going to add a platform, and try to use some graphics. I’ll also try to refactor a little, as the main form is becoming a little large.
References
https://docs.microsoft.com/en-us/aspnet/core/blazor/components/event-handling?view=aspnetcore-5.0
https://www.pmichaels.net/2019/06/03/creating-a-car-game-in-react-part-1-drawing-and-moving/
