Azure Application Monitoring allows for a lot more functionality than just Application Insights. In this post, I’m going to walk through setting up and triggering an an alert.
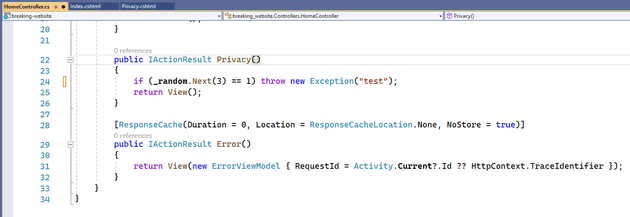
Before we trigger an alert, we need to have something to trigger an alert for. If you’re reading this, you may already have an app service deployed into Azure, but for testing purposes, I’ve created a fresh MVC template, and added the following code:
This will cause an error when the privacy menu option is pressed, around 1 in 3 times (ctrl-f5 can give you several).
Failures
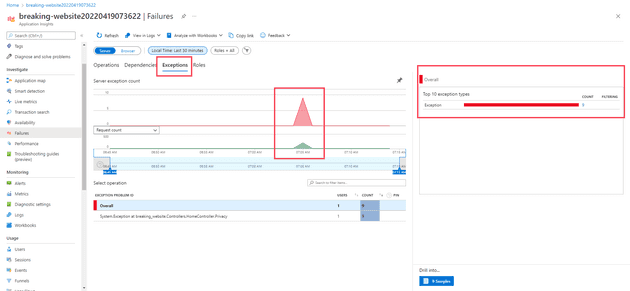
If you have Application Insights set-up for the app service, you can select the Failures blade:
Looking at this image, there’s three points of particular interest. First, I’ve selected the Exceptions tab - this lets me see only the requests and any exceptions that resulted. As you can see, there was a spike where I’ve highlighted. Finally, on the right-hand side of the screen, the exceptions are broken down by type; in this case, I only have one. I can drill into this by selecting the count, or by selecting Samples at the bottom.
The next step is to set up an alert when I get a given number of exceptions.
Creating an Alert
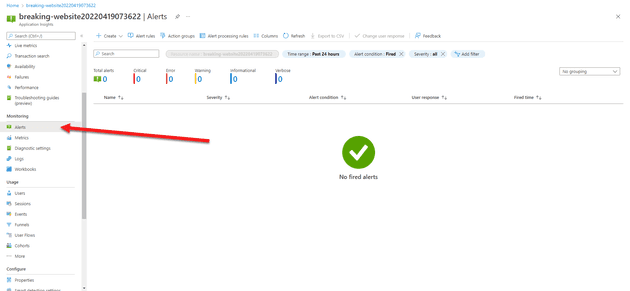
To set up a new alert, select Alerts under Monitoring:
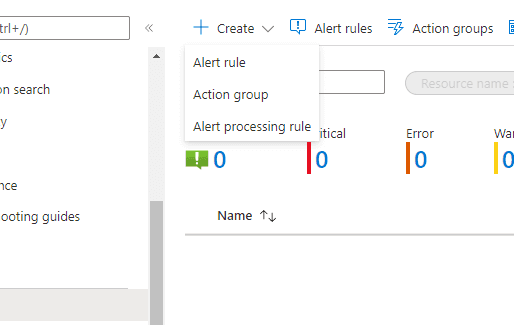
As you can see, it tells us that we have no alerts. In fact, there’s a distinction to be drawn here; what this means is that no alerts have actually been activated. To create a new Alert Rule select Create -> Alert rule:
In creating a new alert, there’s three main things to consider: scope, condition, and action.
Scope
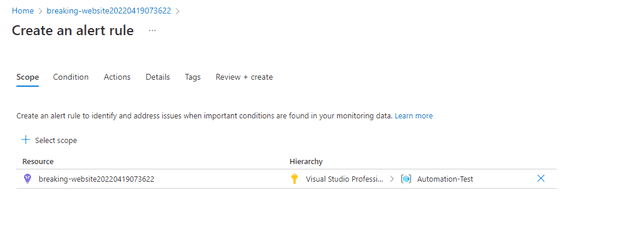
The scope of the alert is what it can monitor: that is, what do you want to be alerted about. In our case, that’s the app service:
Condition
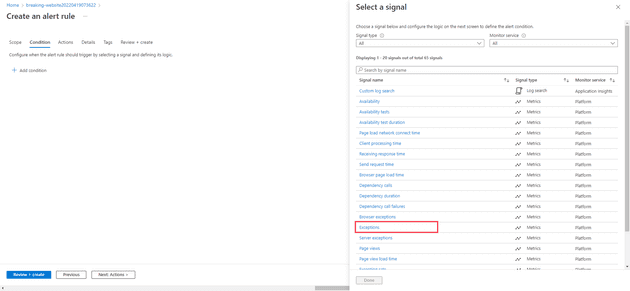
The next section is condition. There are many options here, but the one that we’re interested for this is Exceptions:
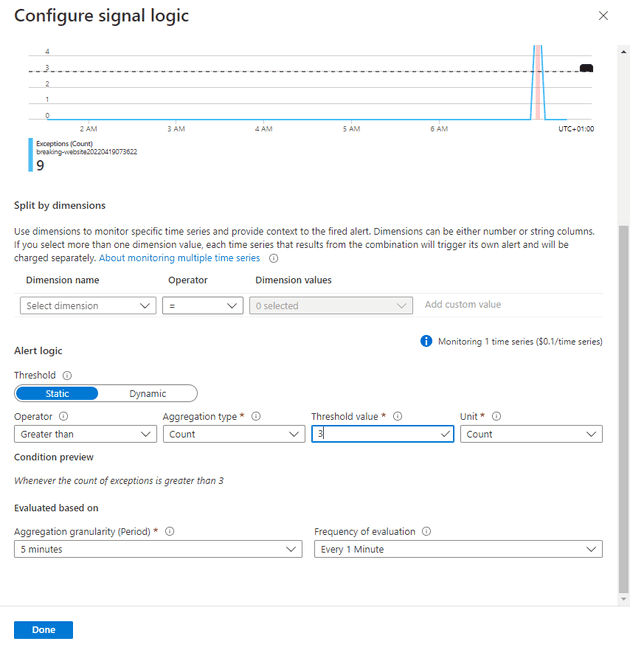
After selecting this, you’ll be asked about the Signal Logic - that is, what is it about the exceptions that you wish to cause an alert. In our case, we want an alert where the number (count) of exceptions exceeds 3 in a 5 minute period:
Once you select this, it’ll give you an idea of what this might cost. In my tests so far, this has been around $1 - 2 / year or so.
Actions
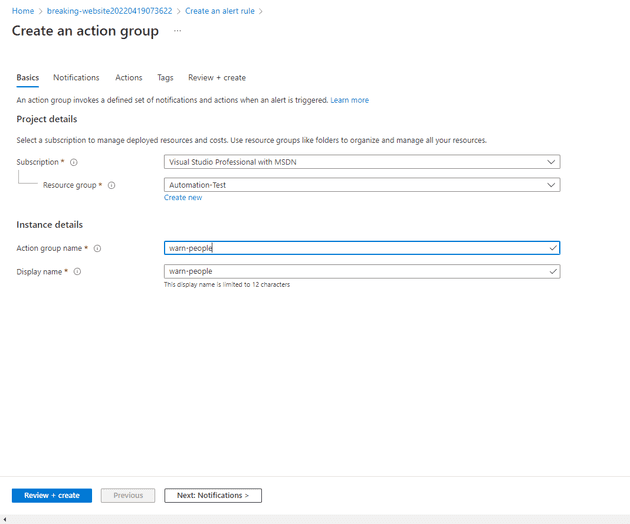
The next section is Actions: once the alert fires, what do you want it to do? This brings into play Action Groups. Here, we’ll create a new Action Group
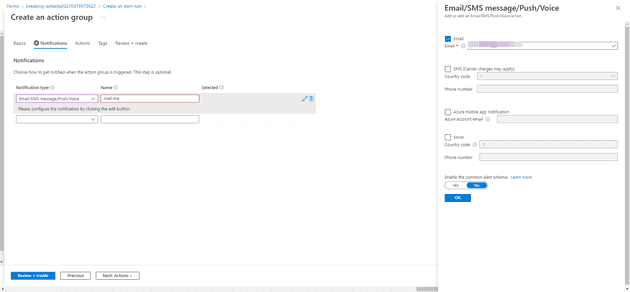
You can tell it here to e-mail, send an SMS, etc.:
It is not obvious (at least to me) from the screen above, but on the right-hand side, you need to select OK before it will let you continue.
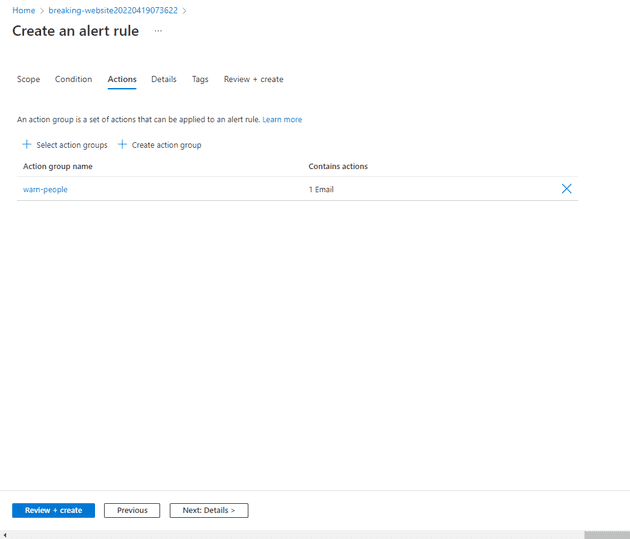
We’re going to skip the other tabs in the Action Group and jump to Review + create, then select Create. This will bring you back to the Actions tab, and select that as the default action. You’ll also get a notification that you’re in that action group:
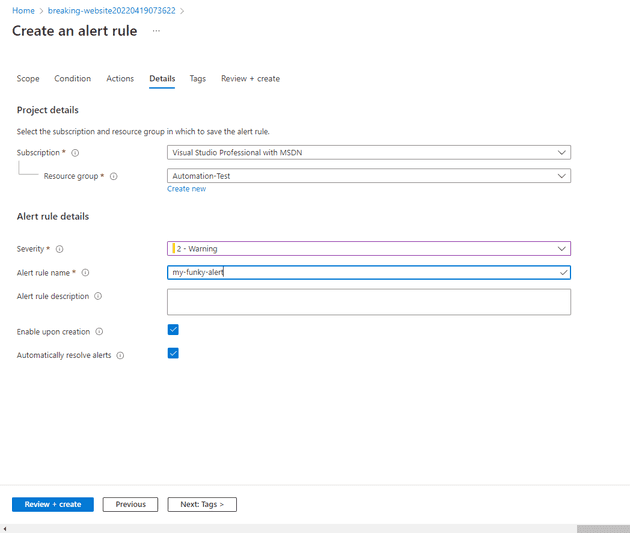
Finally, in Details you can name the alert, and give it a severity; for example:
Once you create this, you’ll be taken back to the Alerts tab - which will still, and confusingly, be empty. You can see your new Alert in the Alert rules section:
Triggering the Alert
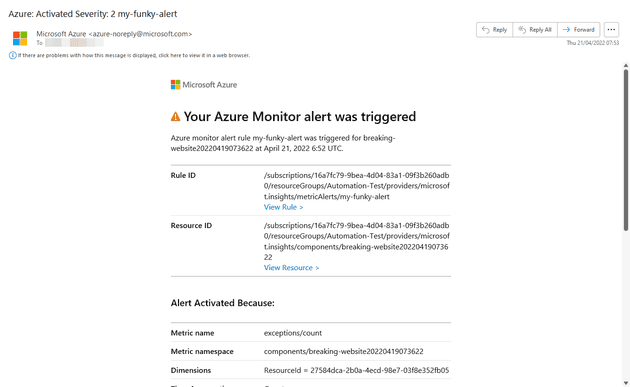
To trigger the alert, I’m now going to force my site to crash (as described earlier) - remember that the condition is greater than 3. Once I get four exceptions, I wait for the alert to trigger. At this point, I should get an e-mail, telling me that the alert is triggered:
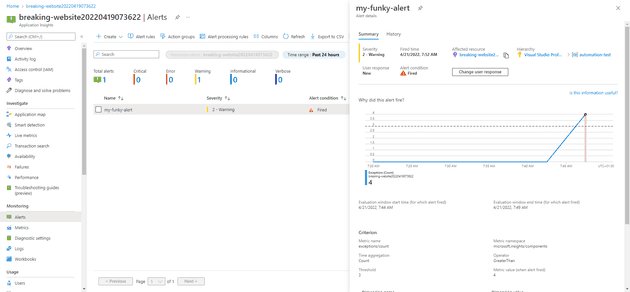
Finally, we can see that this triggered in the Alerts section. If you drill into this, it will helpfully tell you why it has triggered:
Once the period has passed, and the exceptions have dropped below 4, you’ll get another mail informing you that the danger has passed.
Summary
We’ve just scratched the surface of Azure Alerts here, but even this gives us a taste for how useful these things are. In future posts, I’m going to drill into this a bit further.
